Butterfly Onigiri: Emerging From Winter's Cocoon
The slow pace of winter can sometimes feel like a cocoon - a time to get curled up in soft blankets and lost in good books, when gray skies and fluffy snow lay like a blanket over the landscape. There’s nothing wrong with a little hibernation - in fact, our bodies often crave more time resting when things are cold and dark. But sometime around the end of winter, we get this feeling deep in our bones that something is about to start shifting. We start dreaming about spring gardens or summer travel plans, of warmer days ahead, the feeling of bare feet on soil. When spring arrives, it does so rapidly, with only that rooted glimmer of anticipation as a warning. Suddenly, we know, the world will be awash in change and growth and energy and we will want to rush out and be part of it!
That’s why that very first tiny little glimmer is important to heed. It’s telling you to slowly, gently, start crawling out of your cocoon. Just like a butterfly emerging from a chrysalis and slowly unfurling its wings in the sunlight, this process shouldn’t be rushed. A slow transition will help you feel more grounded in the present and prepared for what’s to come! Start listening to your body and your energy levels. Do you feel like doing a bit more than you did yesterday? Do you feel a little more restless than you did last week? Are you ready to gently start making space for spring? If so, then this is the perfect recipe to celebrate with.
When I get those end-of-winter glimmers, I like to take stock of what I’ve got in the pantry or the fridge, so that I can use up last year’s preserves to make room for a fresh new batch of wildcrafted goodies when the main harvest season comes around. This often leads to a pile of almost-empty jars of pickled treats or jams, maybe the last few spoonfuls of powdered herbs or spices. Surely you’ve got a few mostly-finished pickles in the back of your shelves somewhere too? Rather than tossing out perfectly good tidbits, why not celebrate them as you celebrate your own gentle awakening from hibernation?
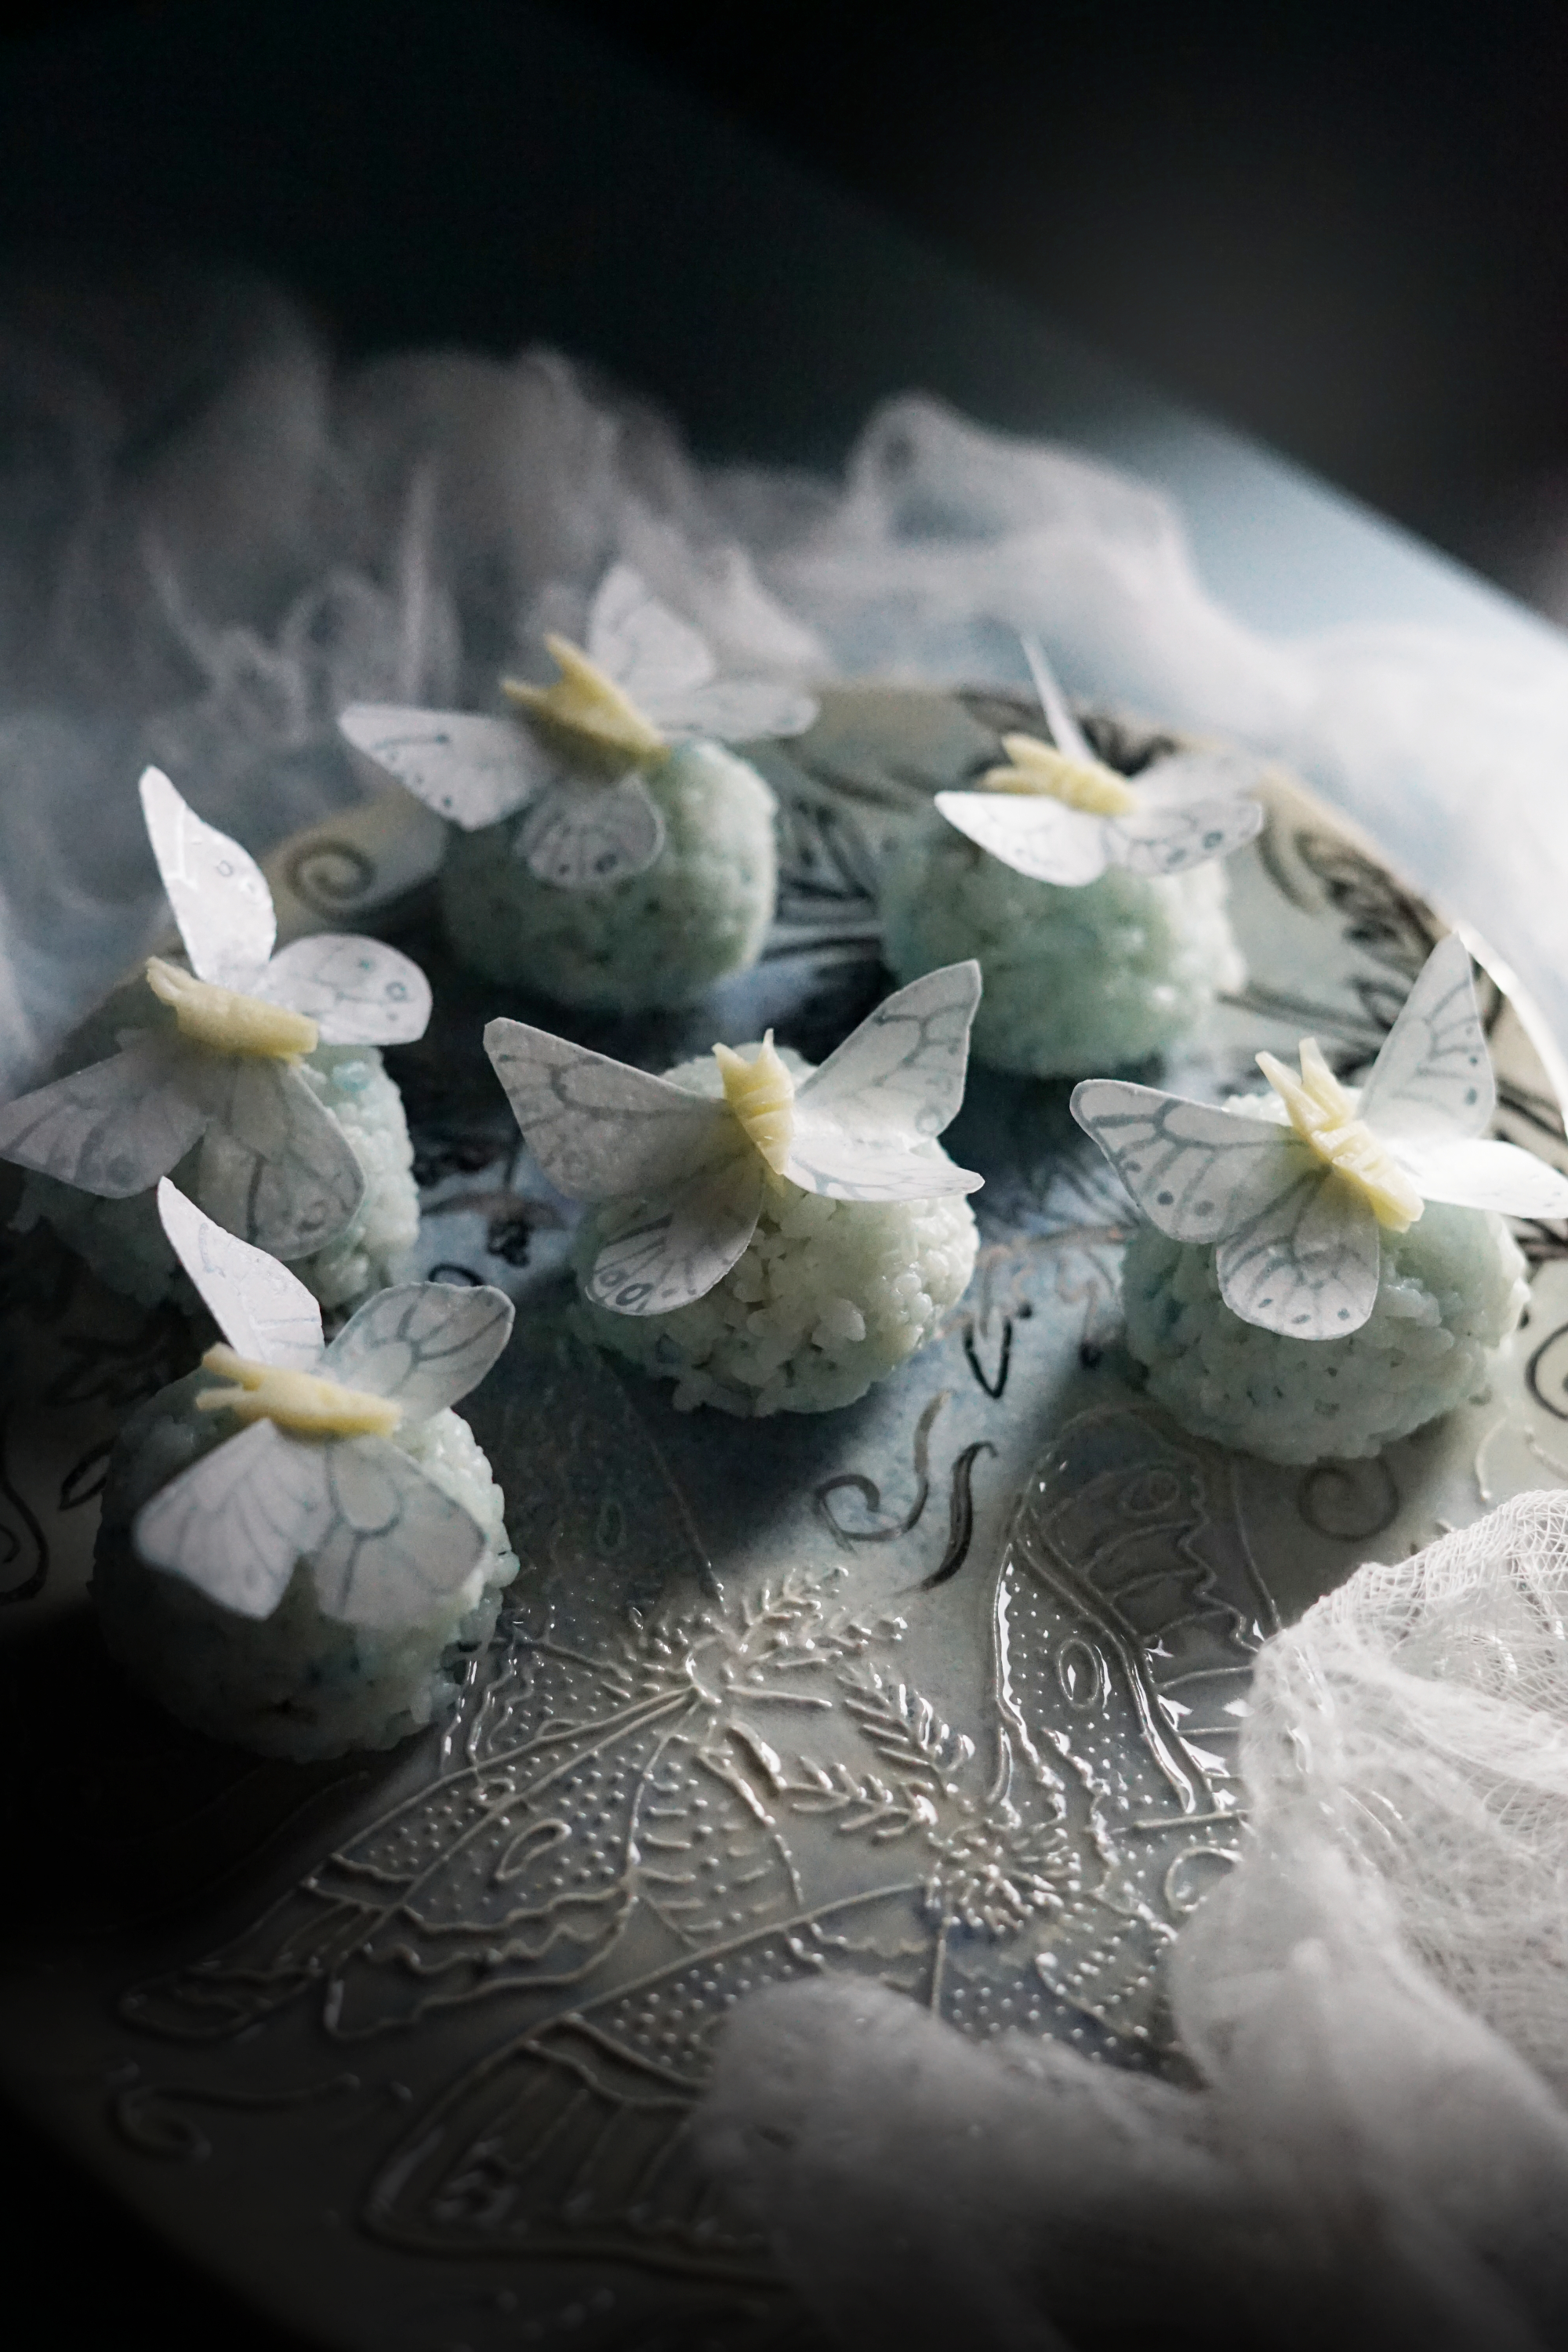
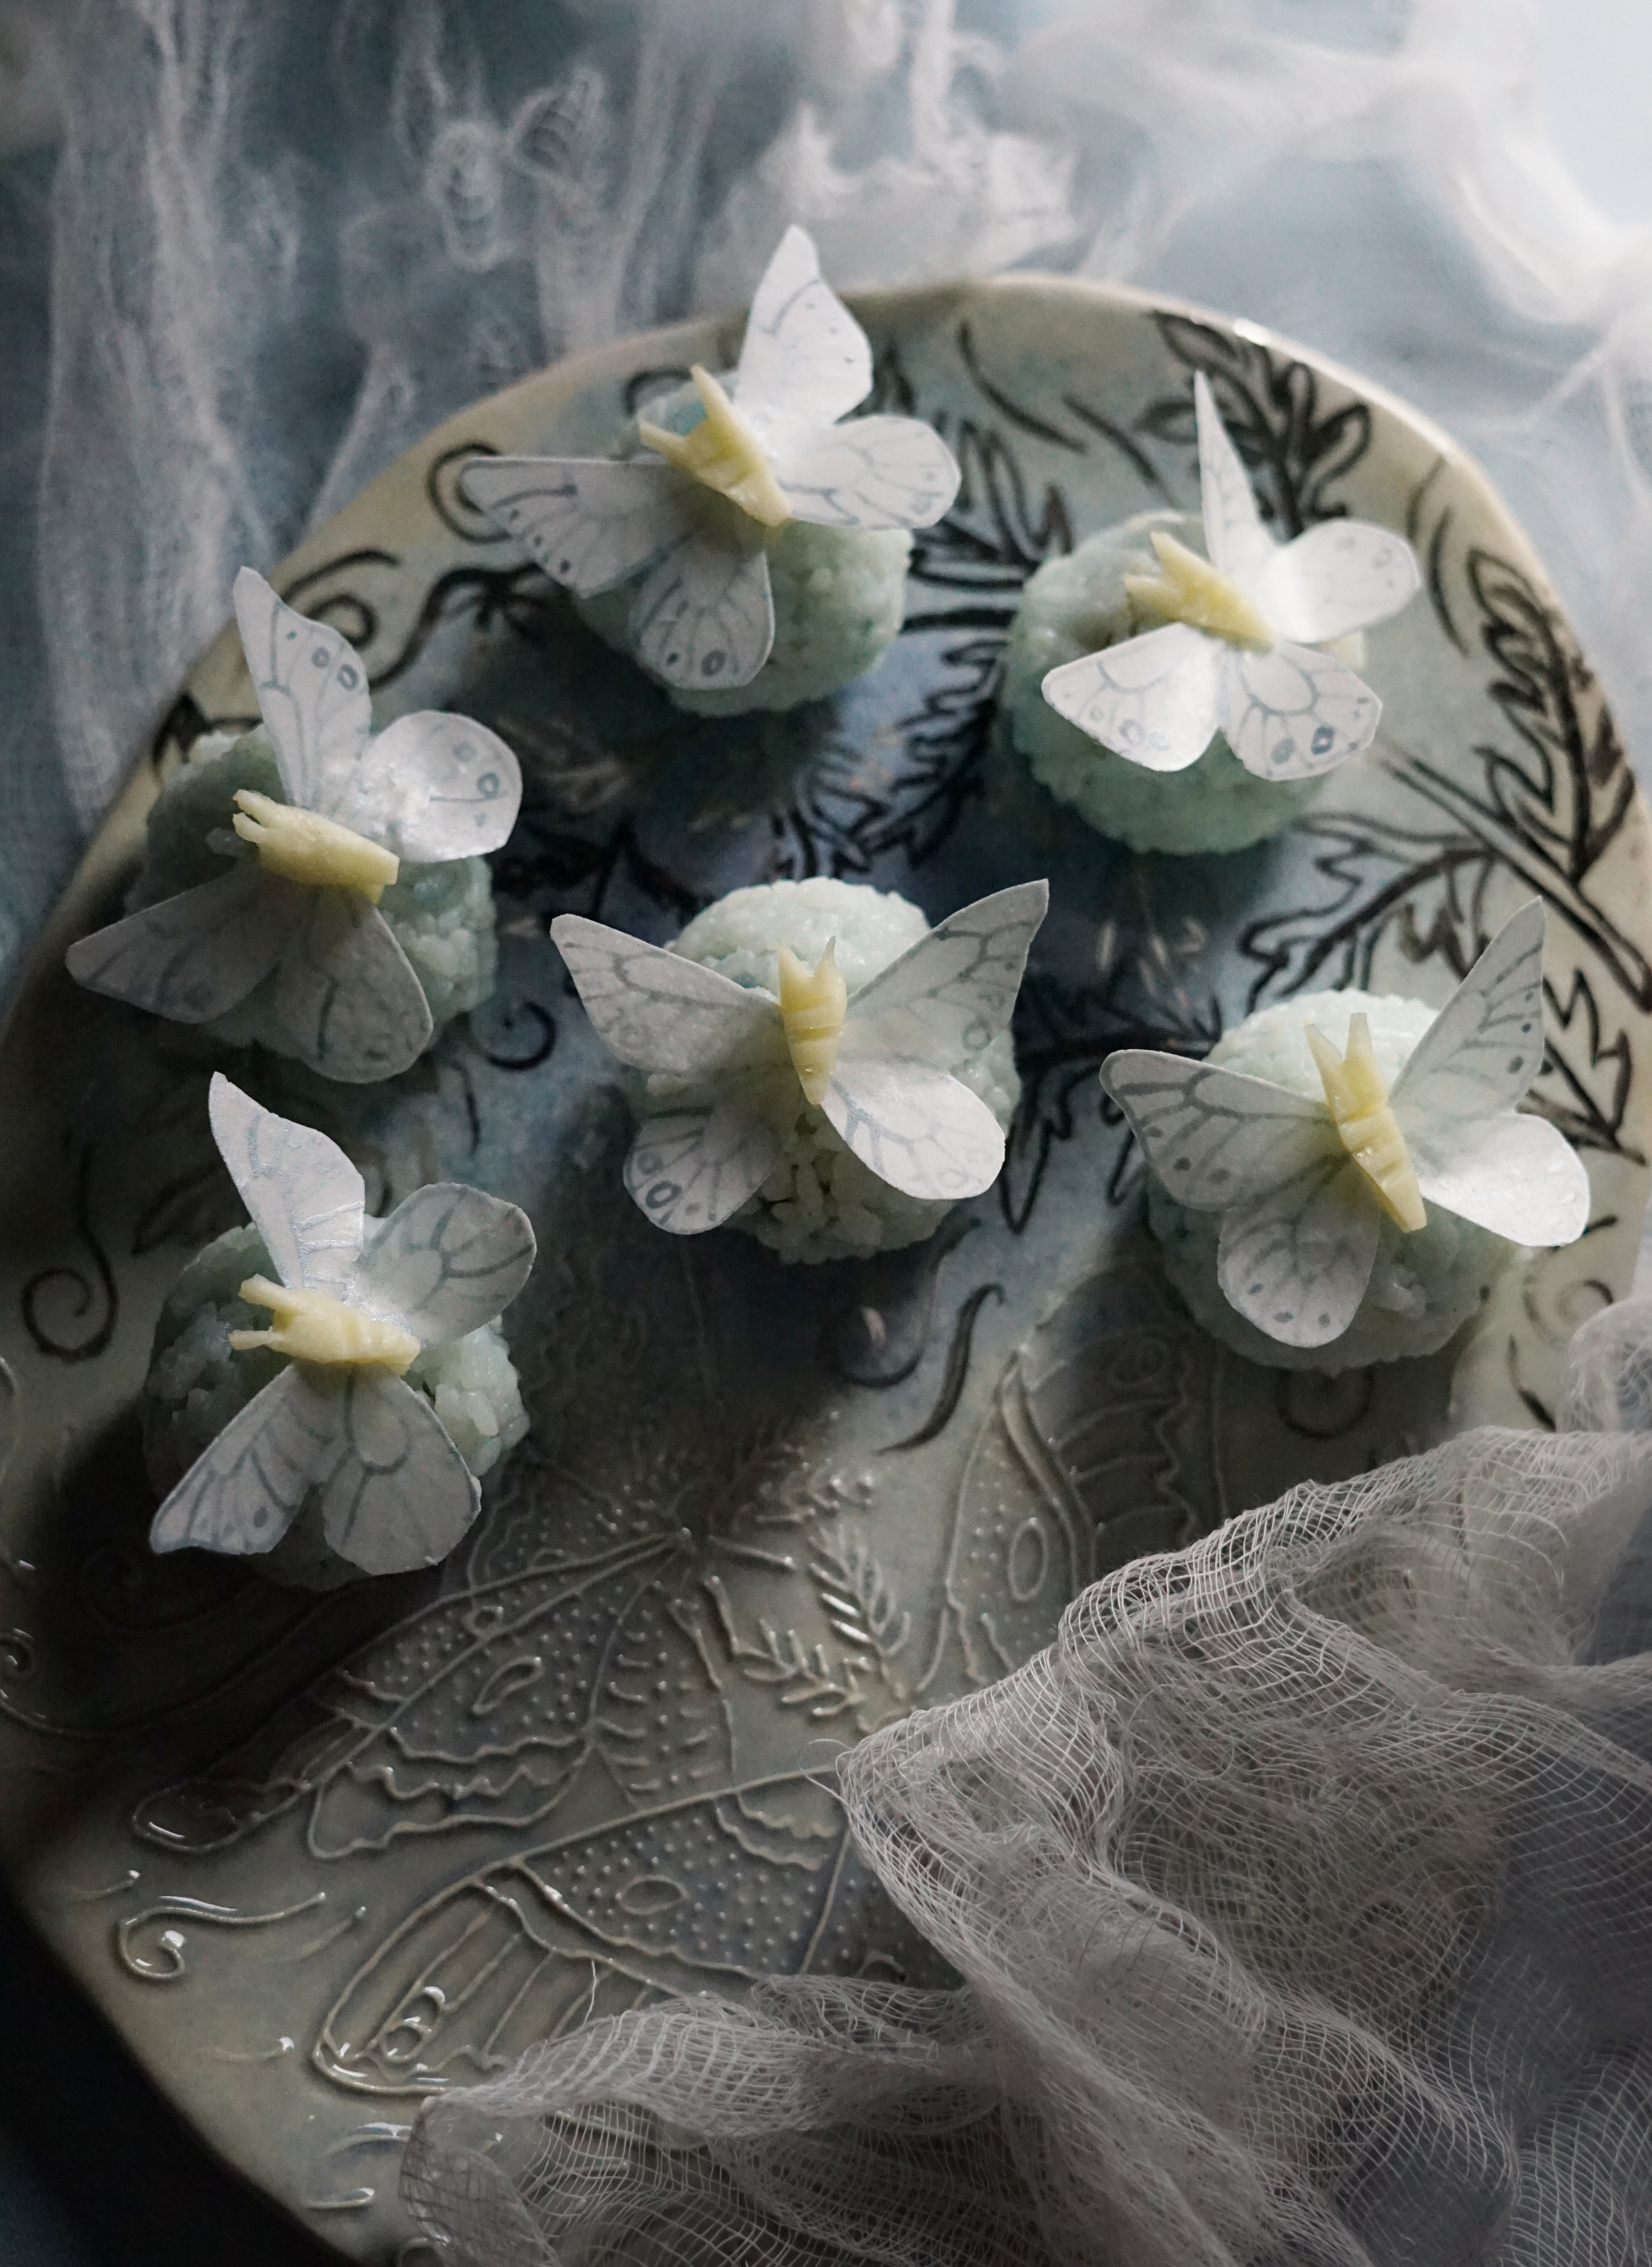
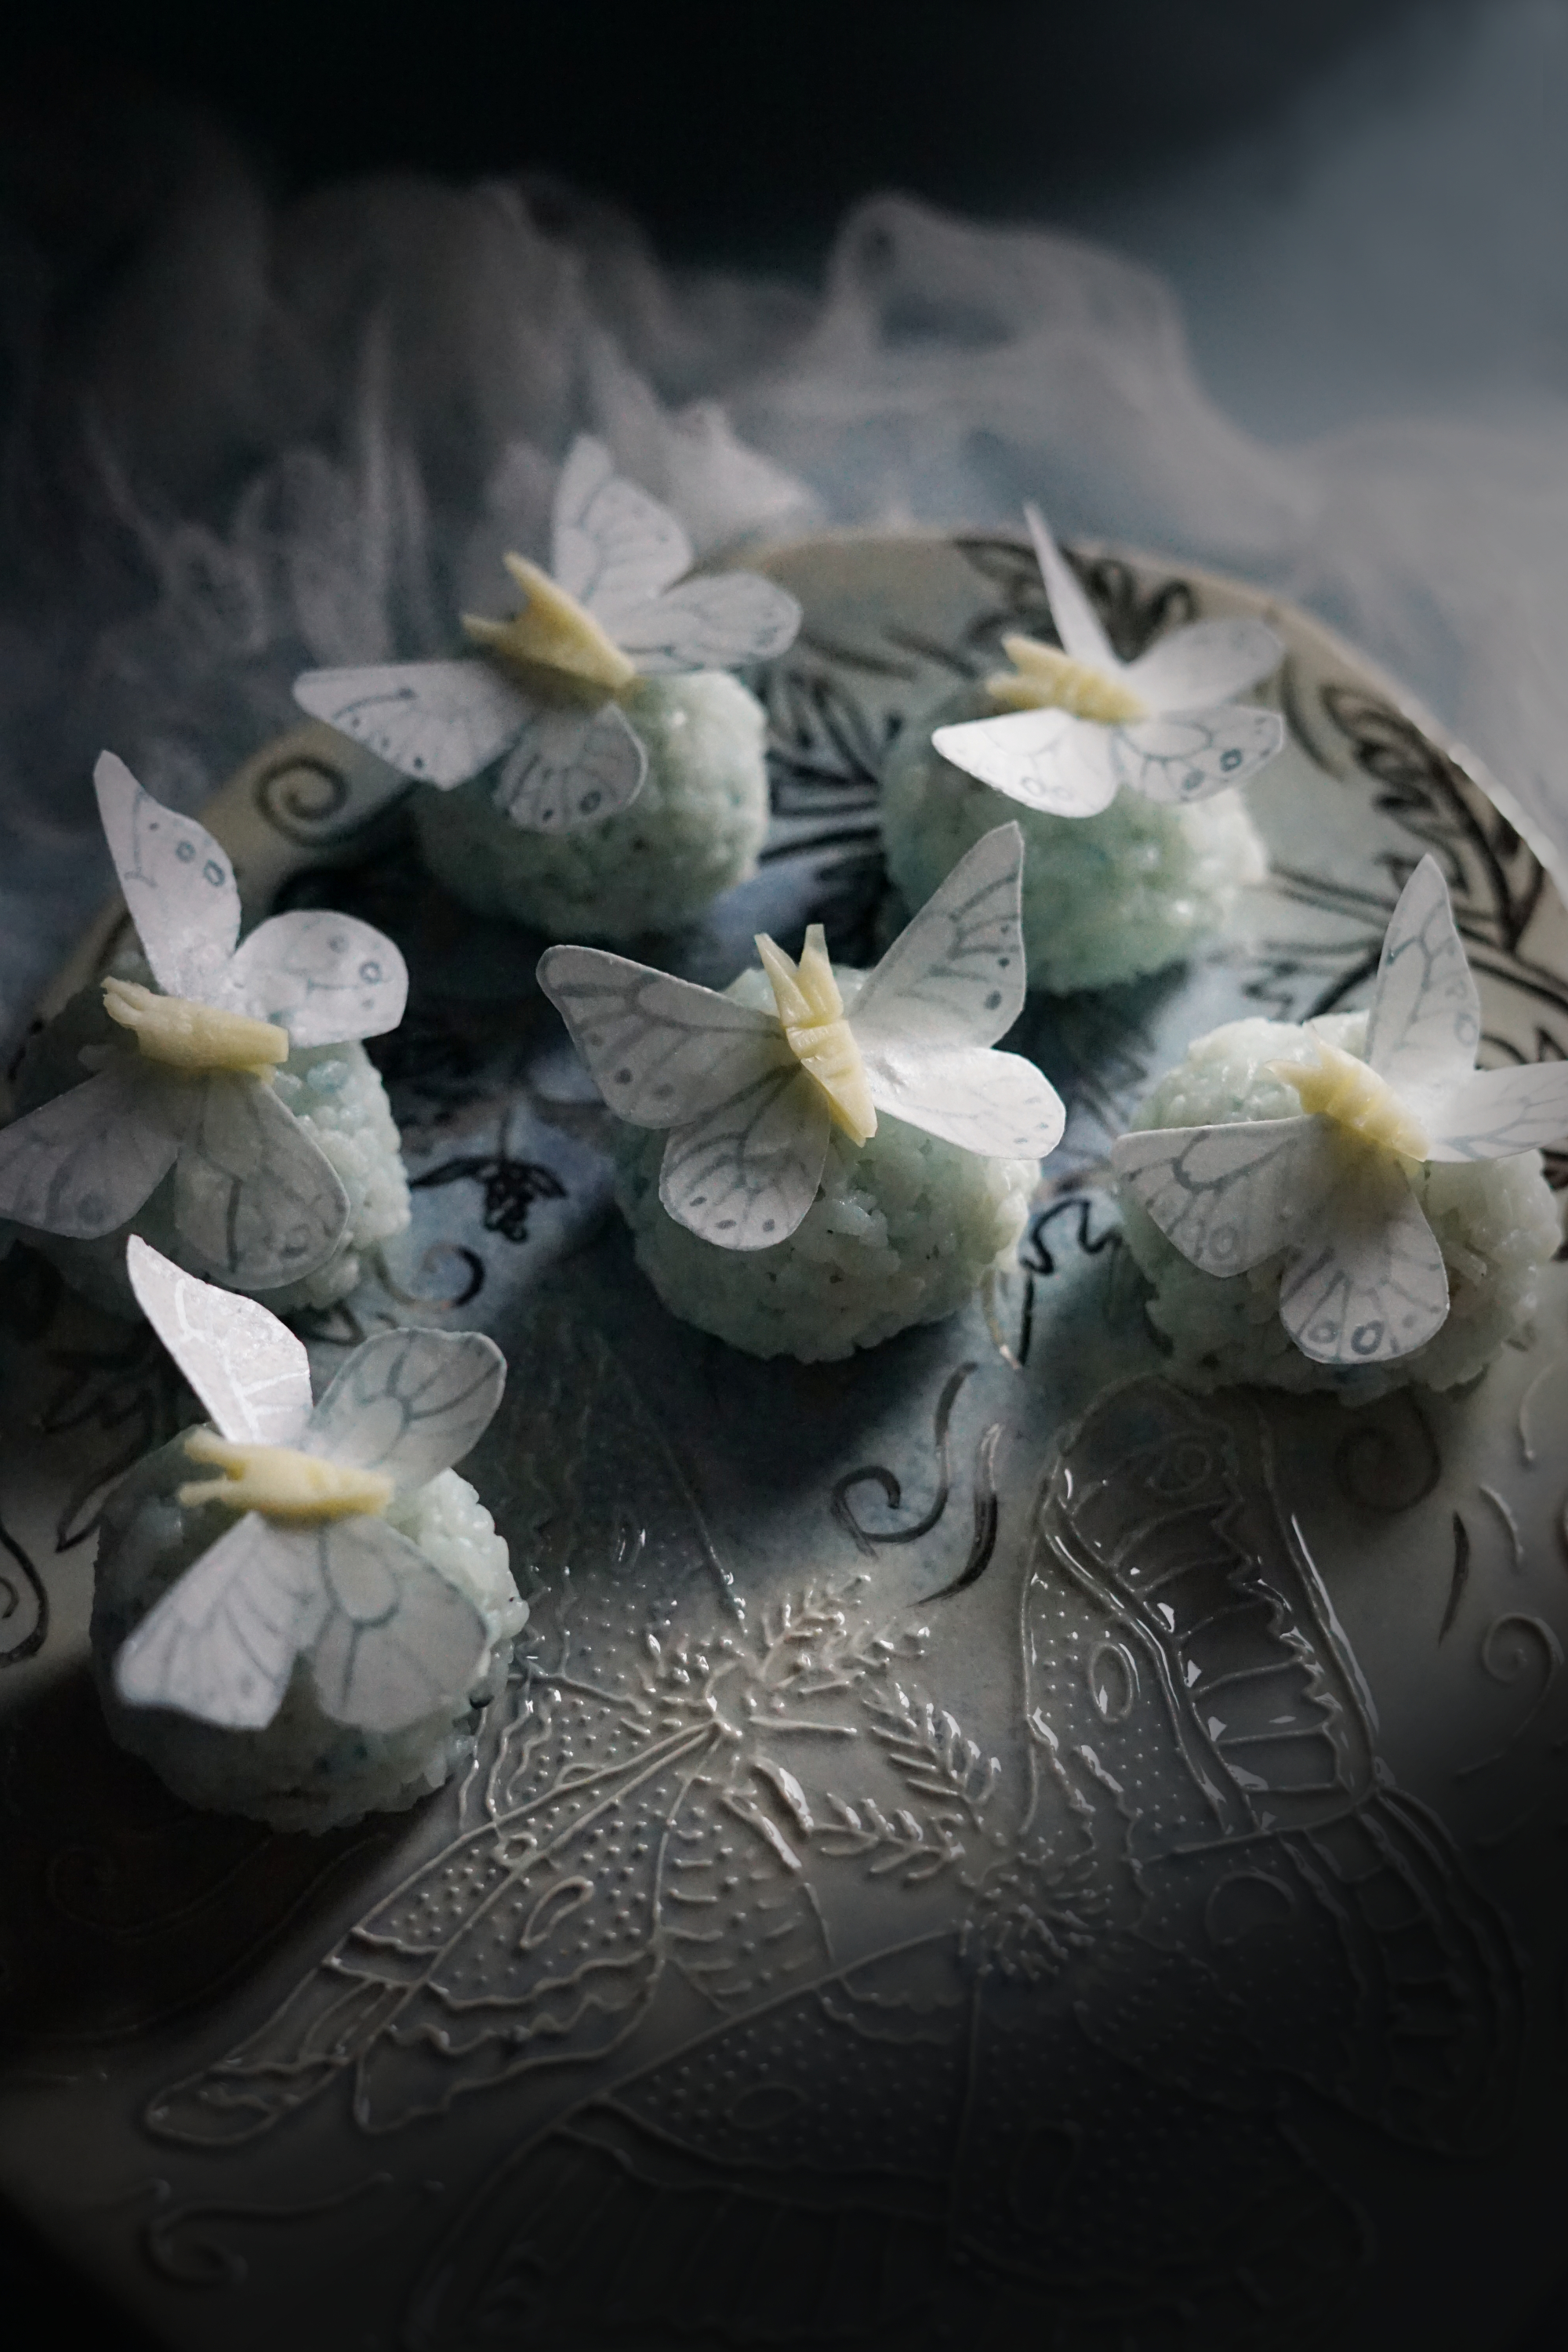
Onigiri are the perfect way to showcase creative mixtures and blends. These little rice balls are a popular snack food in Japan, where they can be found in convenience stores and home kitchens. They are sometimes formed into round balls (like these ones) and sometimes formed into other shapes, like a soft triangle wrapped in nori. Fillings range widely, from fish flakes to salted plums to salmon roe and more. Because of the rice to filling ratio, you can pack your fillings with a lot of flavor!
A completely optional (but completely beautiful) way to dress your onigiri balls up a bit is with the addition of an edible winter butterfly! Usually delicate decorations like this are reserved for sweet treats, but I think they’re equally beautiful atop a savory snack as well. Even better - the vinegar used to paint on their patternings gives the wafer paper a zesty flavor with a melt-in-your-mouth texture, a sensory treat before you dive into the rice ball itself.
The butterflies are lovely without their cheese bodies too, if you prefer to make them vegan!
Makes 12 snack-sized balls
Winter Butterflies:
Ingredients:
1 sheet edible wafer paper
1 tsp. rice vinegar
edible silver luster
Small clean paintbrush
1 string cheese, optional
Directions:
Out of normal paper, cut the shape of butterfly you want your finished butterflies to be. Lay it on a clean surface and top with a layer of plastic wrap. Lay the sheet of edible wafer paper on top. You should be able to see the butterfly shape through to use as a guide.
Mix a little bit of the edible silver luster into the rice vinegar using the paintbrush. Add very small amounts at a time until it’s slightly thickened and very silvery.
Paint onto the wafer paper to form your butterfly - first trace the shape, then add veins, spots, etc. Be careful not to smudge the painting while it dries, which will take a couple of hours. Move the sheet around on top of the template to make
When dry, carefully cut the sheet into rectangles, containing each butterfly. Then cut the butterflies out. (It’s easier to cut small pieces, as the wafer paper is prone to cracking/tearing if there’s much pressure on it.)
You can use the butterflies as-is, or create little bodies for them out of string cheese. Note that the moisture in the cheese will soften the wings slightly, so it’s best to make the bodies soon before serving them. (Tip: make the bodies while the onigiri rice is cooking!) To make the bodies, cut a 1” section of cheese off the log, then cut it into quarters length-wise. Slice into one end to make a small flap and cut a U shape between them to make the antennae. Cut the area just below the antennae off to make them stick out from the top of the head. Cut the other end of the segment into a point for the bottom half of the body. Cut very shallow slits in the top to give it dimension. Very carefully, start at the bottom top and slice a cut halfway down the body until you get close to the head, then back the knife back out being careful not to tear off the flap you’ve created. This is so you can slip the wafer paper into the middle to form the butterfly.
Onigiri Rice:
This rice is probably the most important part of the dish, as its consistency allows you to form lovely shapes around your filling. I’ve dyed mine a subtle light blue using a couple of butterfly pea flowers, but the recipe works just fine white as well. If you do use butterfly pea, don’t be tempted to add any vinegar for flavoring as it will react with the natural dyes and turn your rice pink or purple!
Ingredients:
1 c. sushi or short-grain rice
2 butterfly pea flowers
1 1/2 c. water
pinch sea salt
Directions:
Boil the water and pour it over the butterfly pea flowers. Leave to sit for at least 20 minutes.
Place the dry rice in a colander and run it under cool water until the water runs clear. Drain well.
Put the rinsed rice in a pot with the salt, and butterfly pea water. Bring to a boil over high heat, then immediately reduce to low and cover the pot. Simmer for 20 minutes without opening the lid (which will let out heat and steam.)
Keeping it covered, remove the pot from the heat and let sit for another 10 minutes. Fluff rice..
It’s easiest to form onigiri when the rice is a little warm and moist. Keep a bowl of salted water nearby and gently wet your hands to keep the rice from sticking. Spread a disc of rice into your non-dominent palm and spoon in about 1 tsp. Of the filling of your choice. Use your hands to gently fold the rice around the filling and roll into a ball. This technique seems tricky at first but you’ll quickly get the hang of it! Re-moisten hands as needed to keep the rice from sticking.
Serve warm or at room temperature with fun salts to dip in!
Fillings:
The challenge of this recipe is to get creative with what you have, trying new combinations or curious textures. Perhaps you’ve got some dried apricots that could be simmered in soy sauce, mirin, and some ginger? Or maybe there’s some leftover curry from last night that could be enriched with that tiny packet of raisins? Whatever you choose to fill your onigiri balls with, make sure it’s not too saucy or runny or it will dye the rice. You could even make multiple fillings, letting your guests pick these beautiful snowy balls to be surprised by vibrant fillings, the same way one might bite into a beautiful chocolate without knowing what surprises it contains. These are a couple of my favorite fillings based on what I had around, but feel free to get creative with your own pantry’s contents!
Pickled Walnut and Wakame Filling:
(makes enough filling for 12 onigiri balls)
Ingredients:
0.3 oz dried wakame (about ⅓ c.)
2 c. boiling water
1 Tbs. soy sauce
1 Tbs. brown sugar
Directions:
Put the wakame into a heat-proof bowl and top with boiling water. Let sit for 20 minutes, then strain. Be sure to squeeze out all the liquid you can!
Finely chop the pickled walnuts and add them to a bowl. Chop the strained and squeezed wakame and add it to the bowl as well. Add the soy sauce and brown sugar and mix well.
Dulse Miso Tuna Filling:
(makes enough filling for 12 onigiri balls, plus a bit extra.)
Ingredients:
1 tsp. Dried dulse seaweed flakes
1 small tin canned tuna
1 Tbs. mayonnaise
1 Tbs. miso paste
1 Tbs. lemon juice
1 tsp. Sriracha pepper paste
Freshly ground pepper and salt to taste
Directions:
Drain the tuna well and add it to a bowl.
In a separate bowl, mix together the mayo and miso paste until smooth. Add the lemon juice and sriracha and mix.
Add the sauce to the bowl with the tuna and add the wakame. Mix well. Season with salt and fresh pepper.
Love what you’ve read here? Don’t forget to Subscribe to get frequent updates of new posts!
Huge thanks to my Patrons that make sharing all of these lovely posts with you possible (without all of the pop-ups and ads that make browsing other blogs so annoying). If you’re feeling generous, you too can support the wonder with a monthly contribution of your choice. Even $1 helps a lot! Your donation will help to fund this blog as well as my surprise free events and gifts for strangers. Learn more about this program at the link below:


Join me for a little winter night magic as we bake this cake full of rich seasonal flavors and black cocoa!