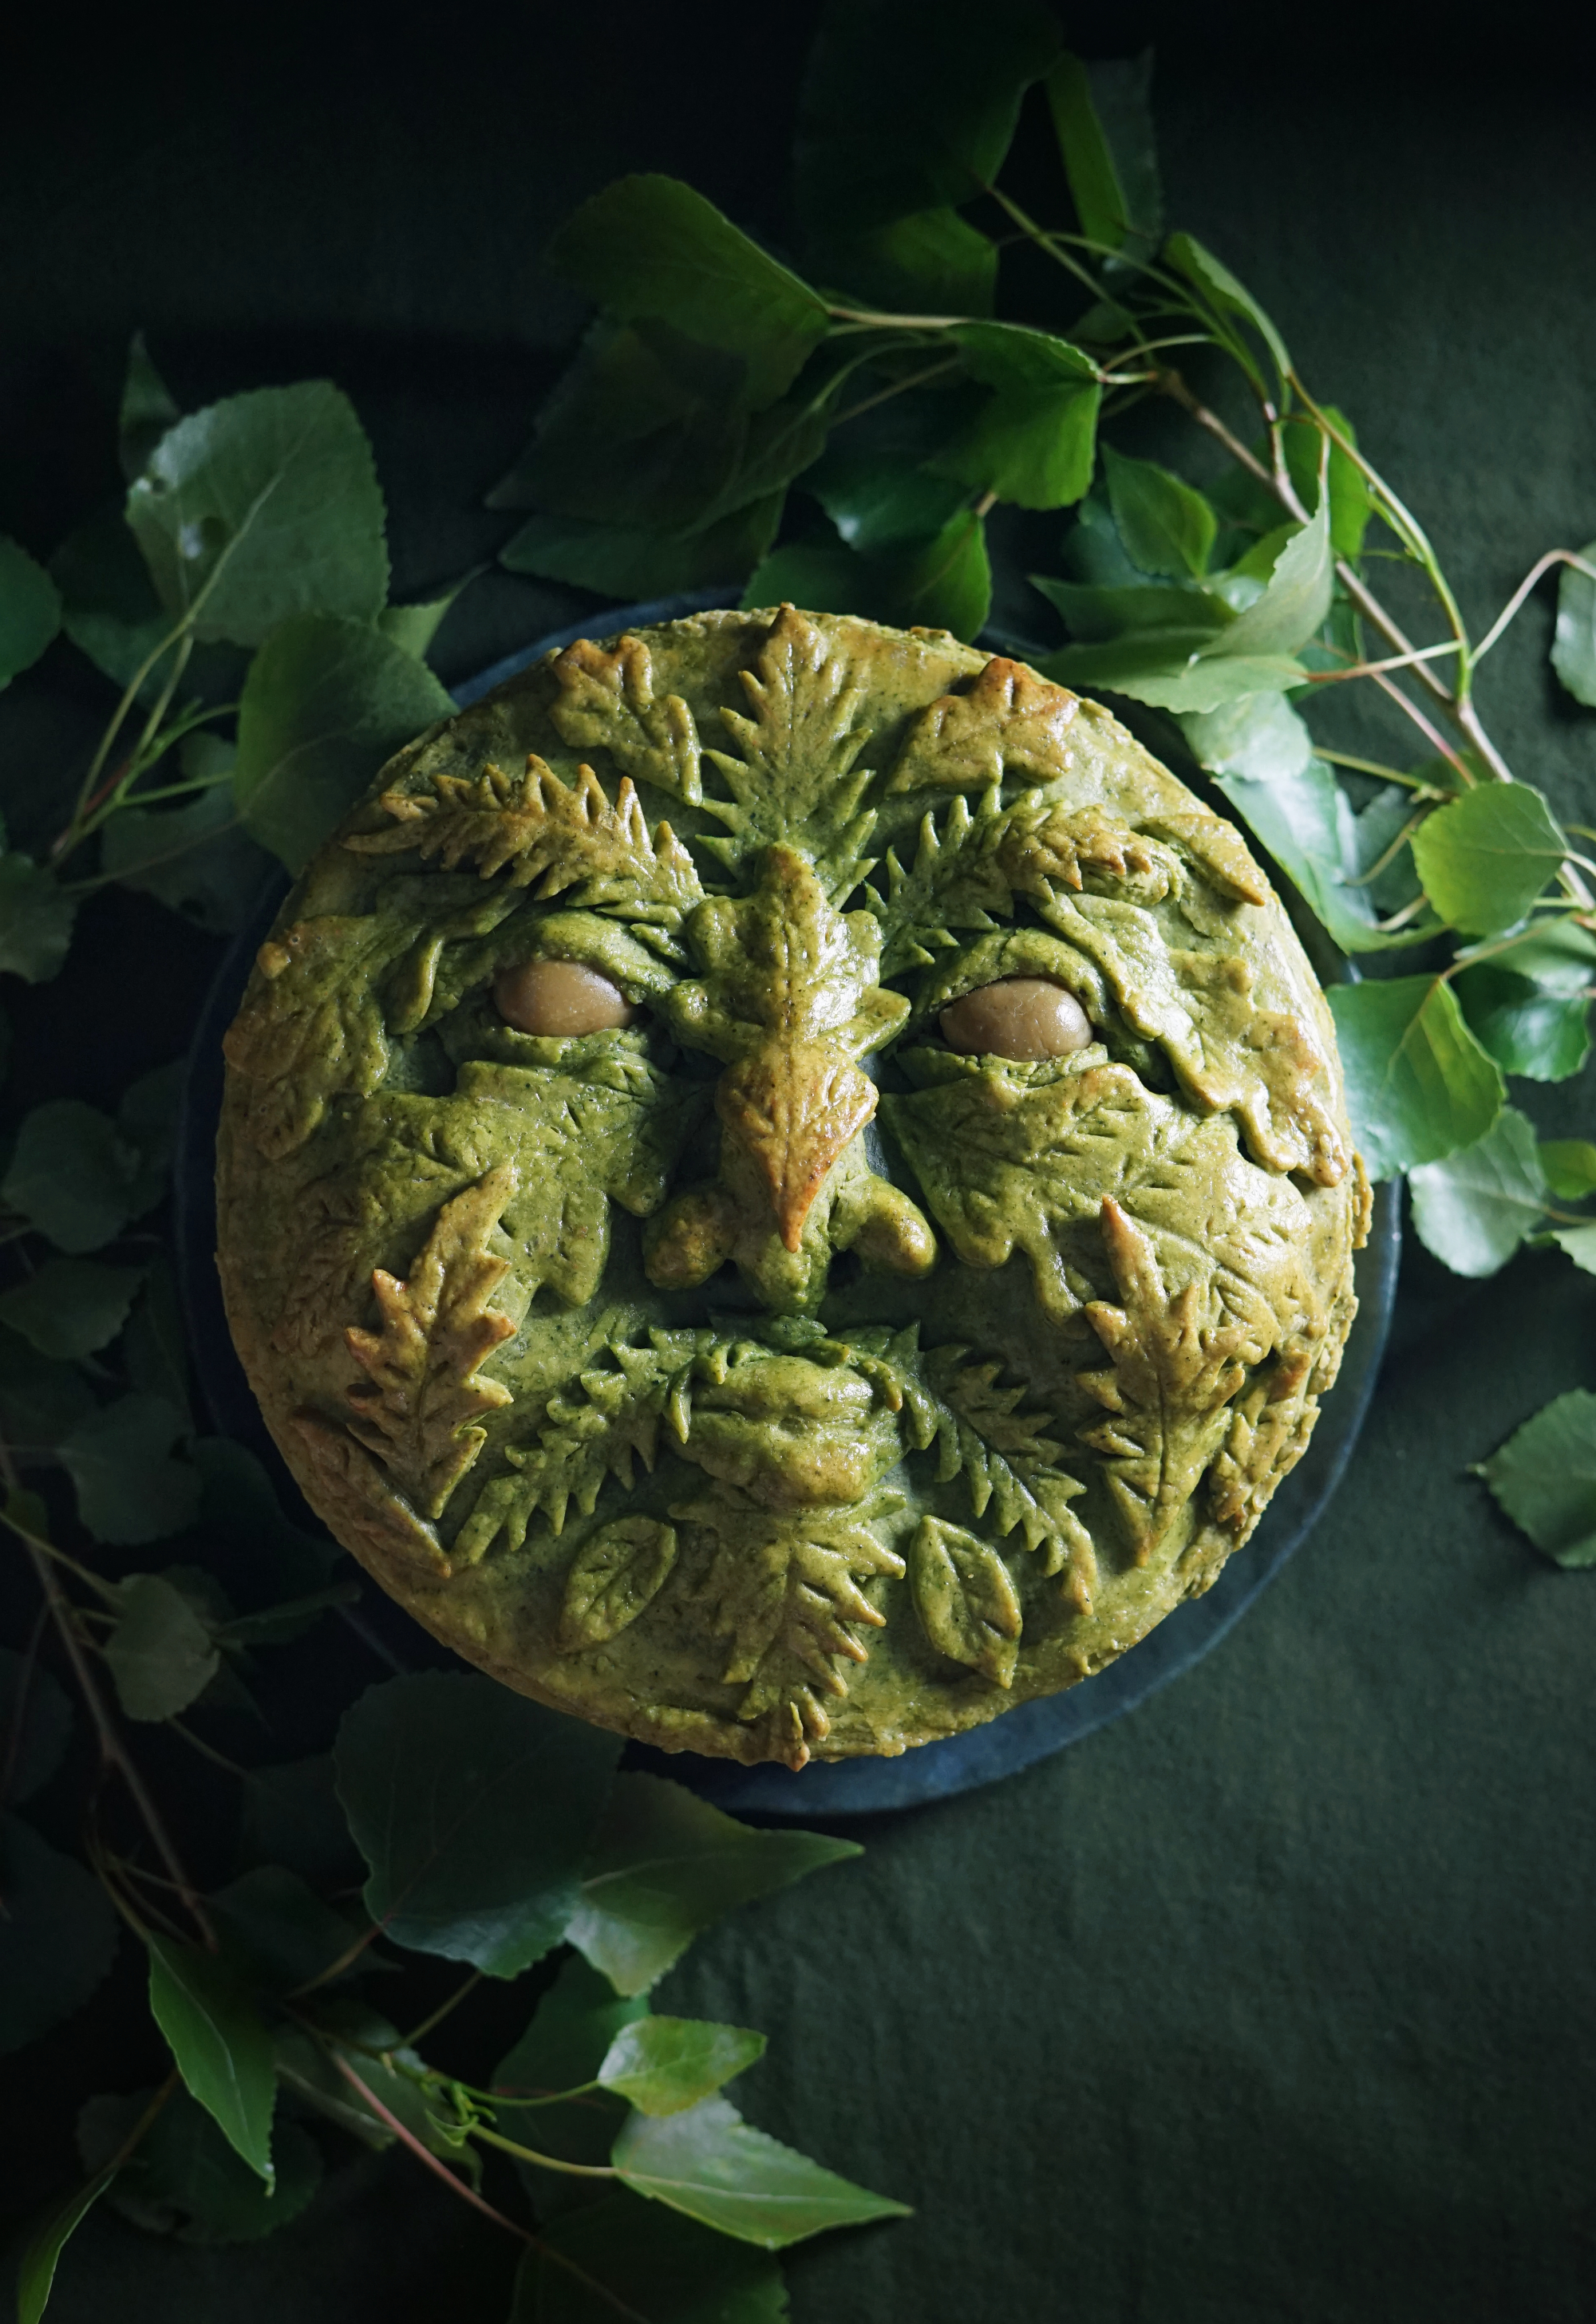
Green Man Picnic Pie
Many old, nature-based religions saw nature itself as a representation of the Sacred. They believed that all things had a spirit and were part of a greater whole. Shamans and healers would take spiritual journeys into other realms to bring back healing information, given to them by the plants themselves (or personifications of them.) The Green Man was a symbol of this symbiotic synchronicity; a communion with the spirit of the wild. He’s both frightening and comforting, just like the true wild - a place of both gentleness and danger. He represents the sacred significance of plants.
The imagery of the Green Man is strangely familiar to most of us; this symbol of a man with leaves branching out of his face has appeared in ancient cultures and varied religions all over the world and is called by many names. His origins are a mystery, as we do not know how far back and to what initial cultures he can be traced to. We just know that this symbol of a man emerging from nature is very old indeed and appears all over the world. Since he’s appeared in such a vast array of cultural diversities, many believe he is an archetype appearing in our collective unconscious that is representative of our relationship with nature, of both reliance and union with the natural world. He is a symbol of the underlying life-force that runs through all of us.
The Green Man is typically associated with the renewed cycle of growth that comes with spring. He represents both new growth and decay, as he can be seen as either emerging from or being reclaimed by nature. He reminds us of our part in the natural world; that we are part of nature’s cycles, not distant from them. Spring is the perfect time to celebrate the lessons he teaches us through a beautiful vegetarian feast of a vegetable-packed picnic pie.
The secret to a successful picnic pie is to pre-cook all of the fillings; if there’s too many raw ingredients in the filling they will release moisture as they cook, causing a soggy bottom and potential leakage. There are a lot of steps to this pie but most are fairly simple; just roasting or sautéing vegetables. Have fun with the decorations and be creative!
Green Man Picnic Pie
Filling:
3 cloves garlic
2 medium red onions
2 large zucchinis
1/4 c. olive oil
4 purple potatoes
3 c. peas
6 c. baby spinach or young nettles
2 c. ricotta cheese
2 Tbs. chopped fresh mint
1/4 c. chopped fresh basil
1 lemon
salt and pepper
2 green olives
Pastry:
4 2/3 cups all-purpose flour
1/3 c. powdered dried nettle or spinach
1 tsp. salt
1/2 tsp. baking powder
1 1/4 c. unsalted butter
2/3 c. ice-cold water
1 beaten egg, to glaze
3 Tbs. milk
Directions:
Begin the pastry: sift the flour, spinach or nettle powder, salt, and baking powder into a large mixing bowl. Cut in the butter and rub until the mixture looks like fine crumbs. Stir in enough cold water to make a firm but not stiff dough. Divide the dough into 2 equal parts. Lightly knead each half until smooth, then form into a ball and wrap in plastic wrap and chill for 20 minutes.
Meanwhile, prepare your vegetables: preheat the oven to 400F. Slice the onions thinly, peel and slice the garlic into thin slices, slice the zucchinis lengthwise, and peel the potatoes and slice them into 1/2” slices.
Place the potato slices on a baking tray and drizzle with olive oil and season with salt and pepper. Add the zucchini slices, also drizzled with olive oil and seasoned with salt and pepper. It’s best to keep the vegetables separate. Cook until everything is tender, about 20 minutes.
Meanwhile, heat a large pan over medium-high heat. Cook the onions for about 10 minutes, or until caramelized. Add the garlic and saute until cooked, then remove from heat.
Cook the peas in a small pan over medium heat until they are soft. Roughly mash with a fork and mix in the mint.
Bring a pot of water to boil and dump in the spinach or nettles, then immediately strain it out. Let it cool, then squeeze it dry and chop it up.
Add the ricotta to the spinach and mix well. Grate in lemon zest from 1 lemon and mix in well. Add the chopped basil and salt and pepper to taste.
After chilling, roll the dough out on a lightly floured table to just over 1/4” thick. Press into the cake pan, pushing out any wrinkles or air bubbles. Make sure there are no tears or holes; you can press more dough into any areas that look thin or broken.
Preheat your oven to 350F with a baking sheet inside. Fill the pie by first placing a layer of purple potato slices, then half of the ricotta-nettle mixture. Top with the zucchini slices, then the pea puree. Add the red onions. Spread the rest of the ricotta mixture and top with more potato slices. Place 2 slices on the top of the layer where the cheeks will be, and a smaller slice for the chin. Cut a long triangle out of another piece for the nose. This gives some depth to the decorations in the next step. Make sure to pack the fillings in there well, removing any pockets of air.
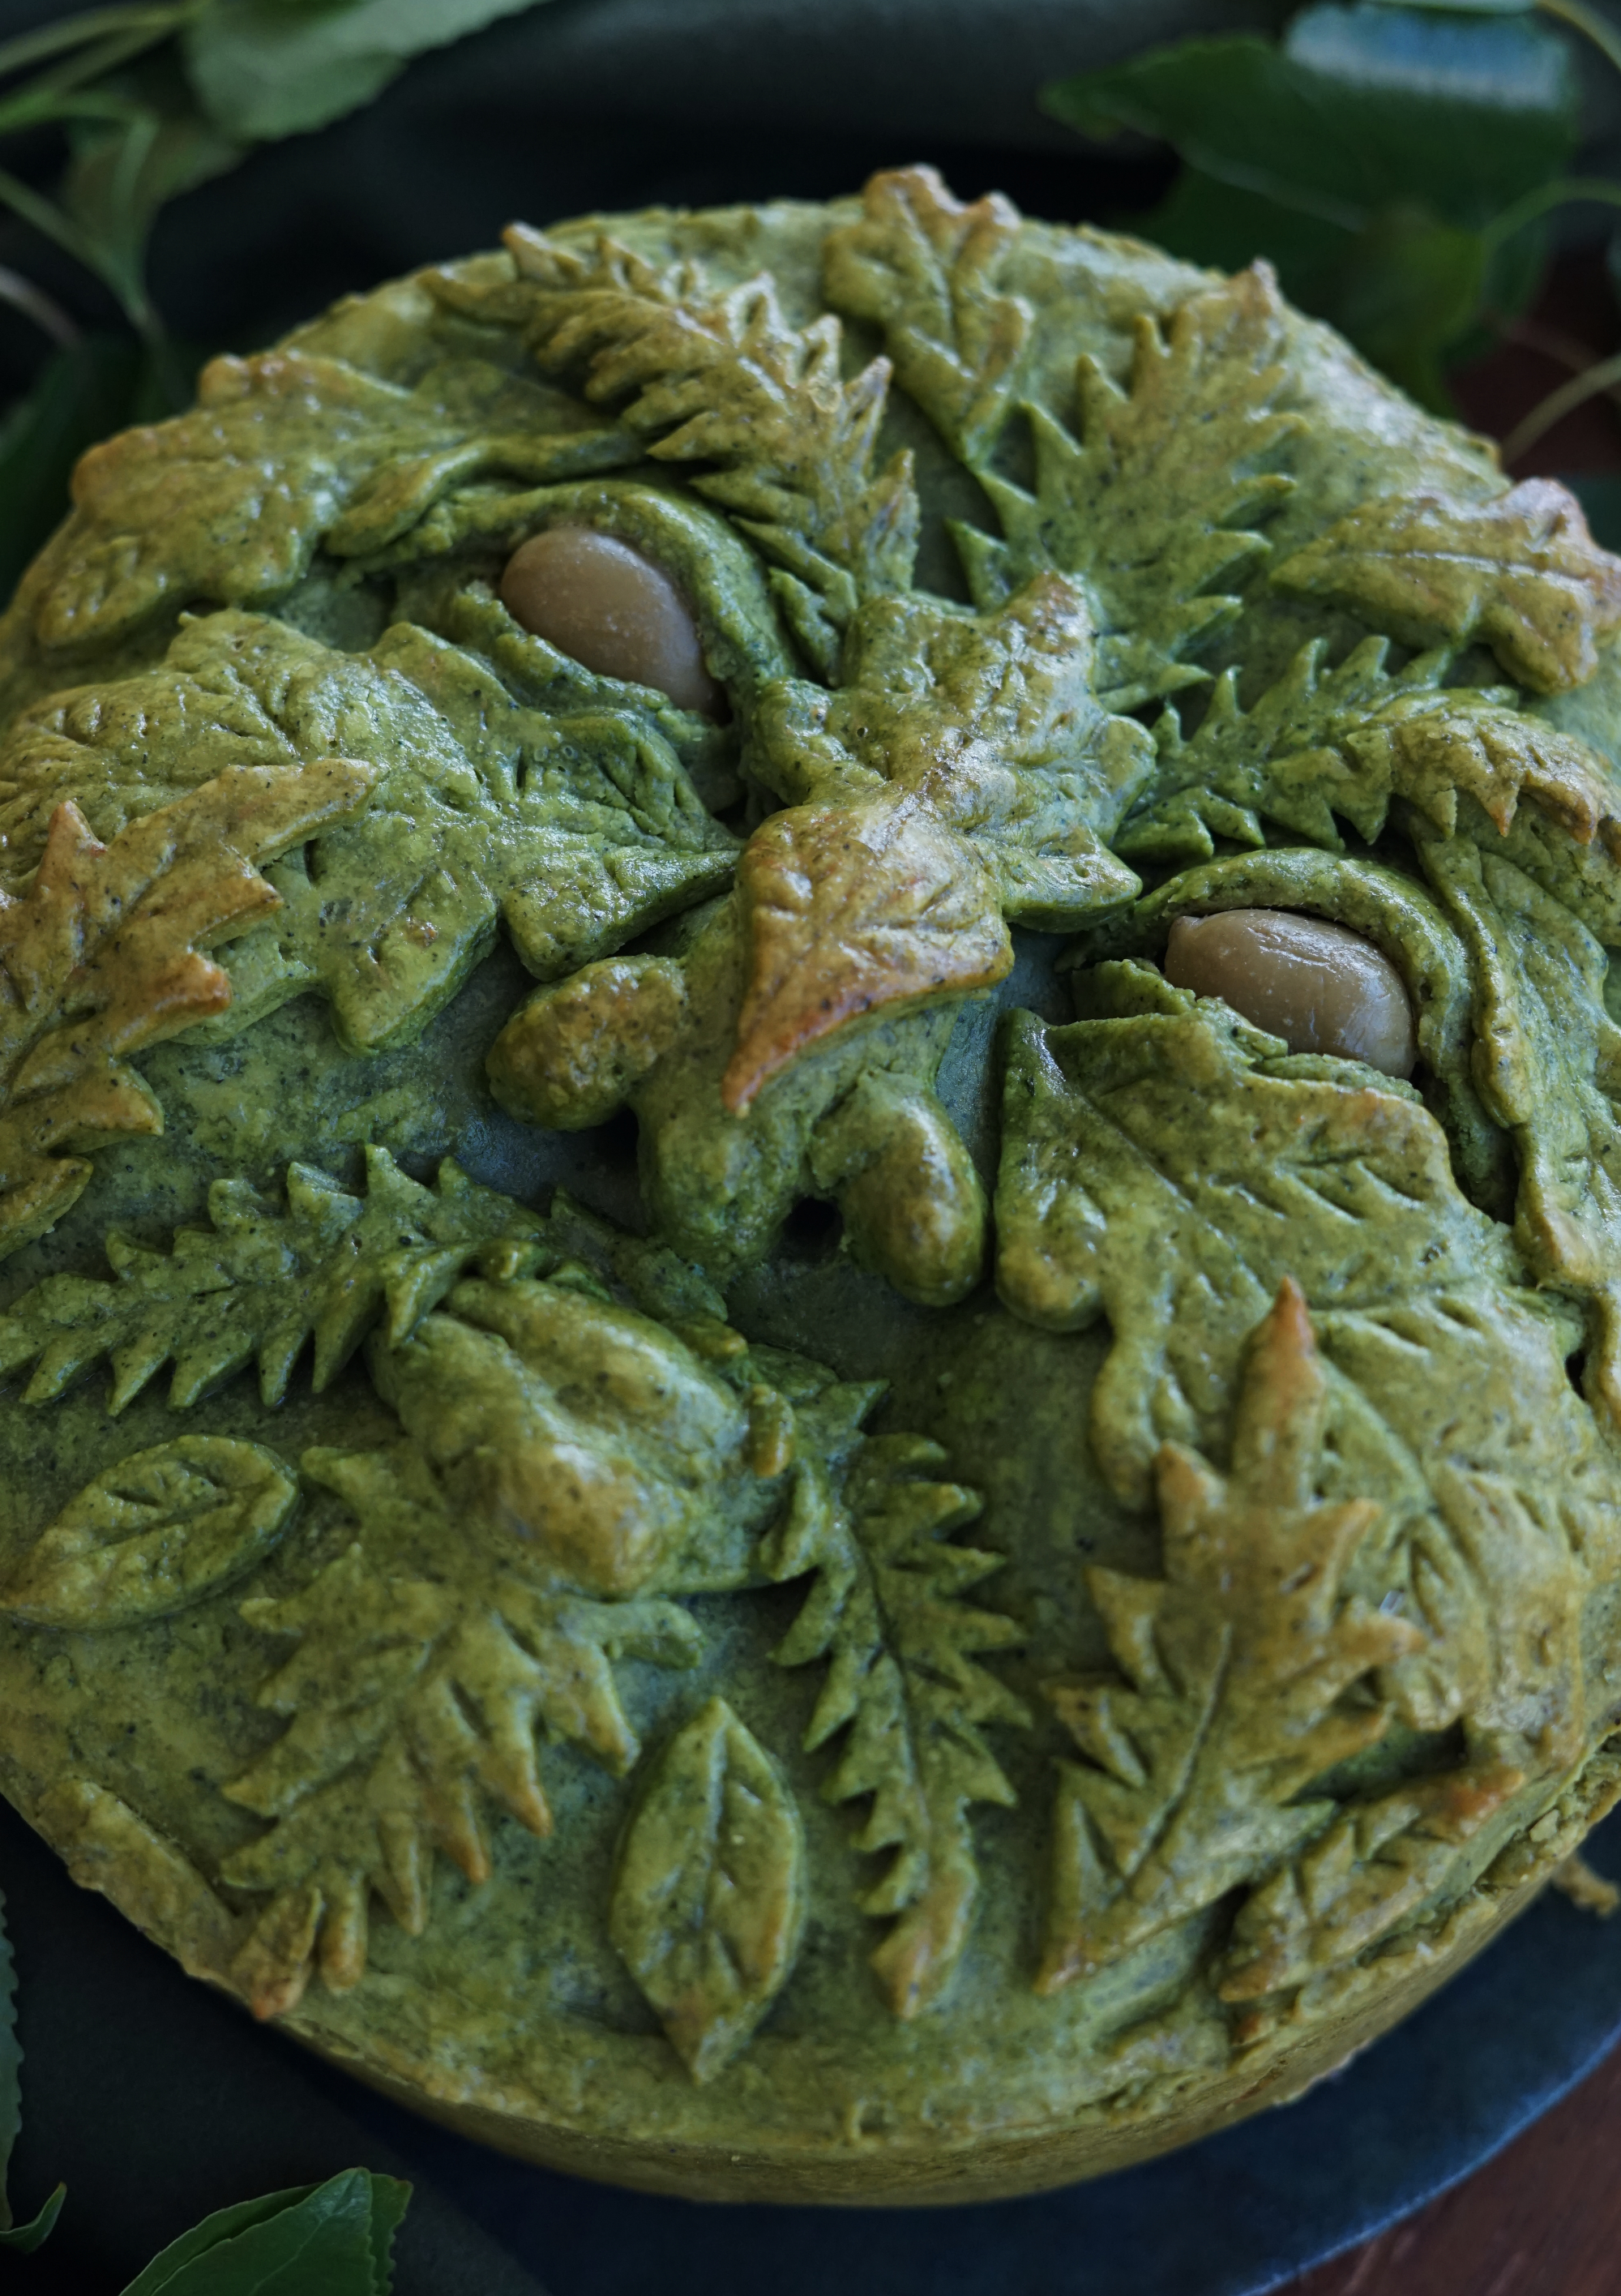
Decorate the pie: Roll a thin layer of the remaining dough out and cover the top. You should see some lumps where the nose, chin, and cheeks are. Place the green olives for the eyes, then cut some thin crescent-shaped pieces of dough out to place around them to look like eyelids. “Glue” in place using a little bit of the milk brushed on. Sculpt a nose out of some more of the dough and place on the pie, poking small air holes inside the nostrils. Again, use milk to attach it. Sculpt lips out of small tapered “snakes” of dough and attach them as well. Cut leaf shapes out of the remaining dough, rolled fairly thin, and impress veins on them with the back of a butter knife. Glue in place. Make sure none of the leaves are overlapping the pan’s edge, otherwise it will be difficult to remove the pan without breaking them off. Once you’re happy with your decorations, beat the egg with a tiny bit of water until smooth and brush the top of the pie with the mixture, reserving some for later.
Bake your pie at 350F on the preheated baking sheet for 30 minutes, then cover the top with tinfoil and cook for another 30-40.
Remove the cooked pie from the oven and leave to cool and firm up for 20 minutes before carefully removing the cooking mold and placing the pie on a cookie sheet. Brush the sides with beaten eggs to glaze, then return it to the oven to bake for another 4-5 minutes until golden and shiny. Remove and leave to cool, then transfer to a serving plate.
Love what you’ve read here? Don’t forget to Subscribe to get frequent updates of new posts!
Huge thanks to my Patrons that make sharing all of these lovely posts with you possible (without all of the pop-ups and ads that make browsing other blogs so annoying). If you’re feeling generous, you too can support the wonder with a monthly contribution of your choice. Even $1 helps a lot! Your donation will help to fund this blog as well as my surprise free events and gifts for strangers. Learn more about this program at the link below:
*New to foraging and don’t know where to start? Check out this blog post on Foraging 101!
before baking!


Join me for a little winter night magic as we bake this cake full of rich seasonal flavors and black cocoa!